Custom Brush Exercise
Using the Custom brush in photoshop, This is the first time that I have created my own Custom Brushes. I first watched the video tutorial on this subject so I had an idea what to do. I sourced some images on the internet to copy for my brush head. I opened the image to be copied in photoshop and used the magic wand tool to select the areas to copy, if there is gaps in the image that is being copied select a part of the image with the magic wand and click on it, then hold down the shift key and click on all the other parts of the image you want. When you are happy that you have all the areas of the image you want Select > All > Inverse then define brush preset. You may need to add colour to the image first, then the shape should be found in the brushes presets.
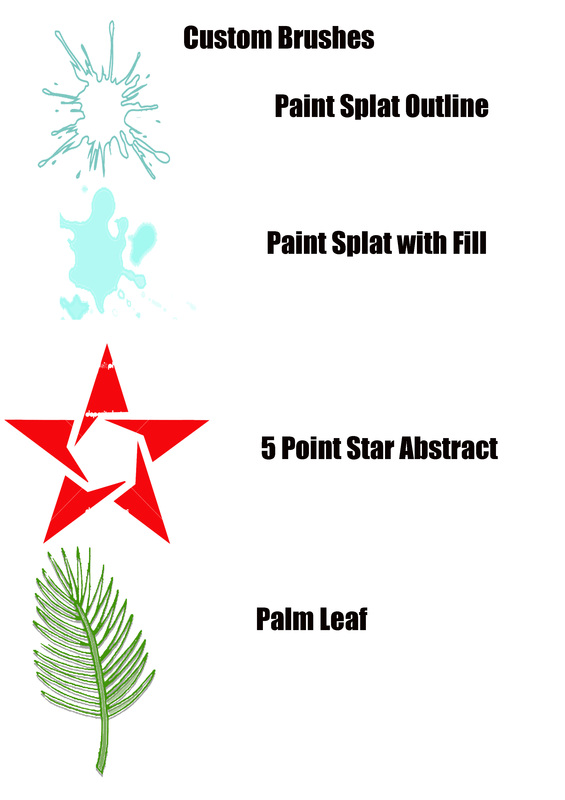
The images below are of the custom brushes that I have made, There are four of them at the moment and I will be adding some more for a collage with music as a theme.
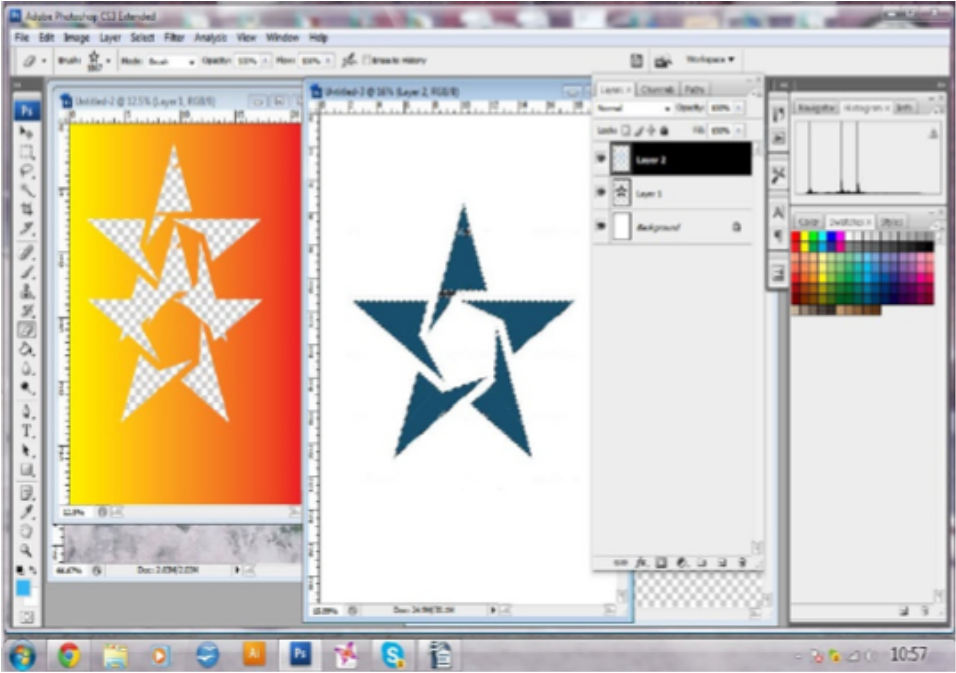
Below you can see a screen shot of my Star custom brush being used as an eraser.
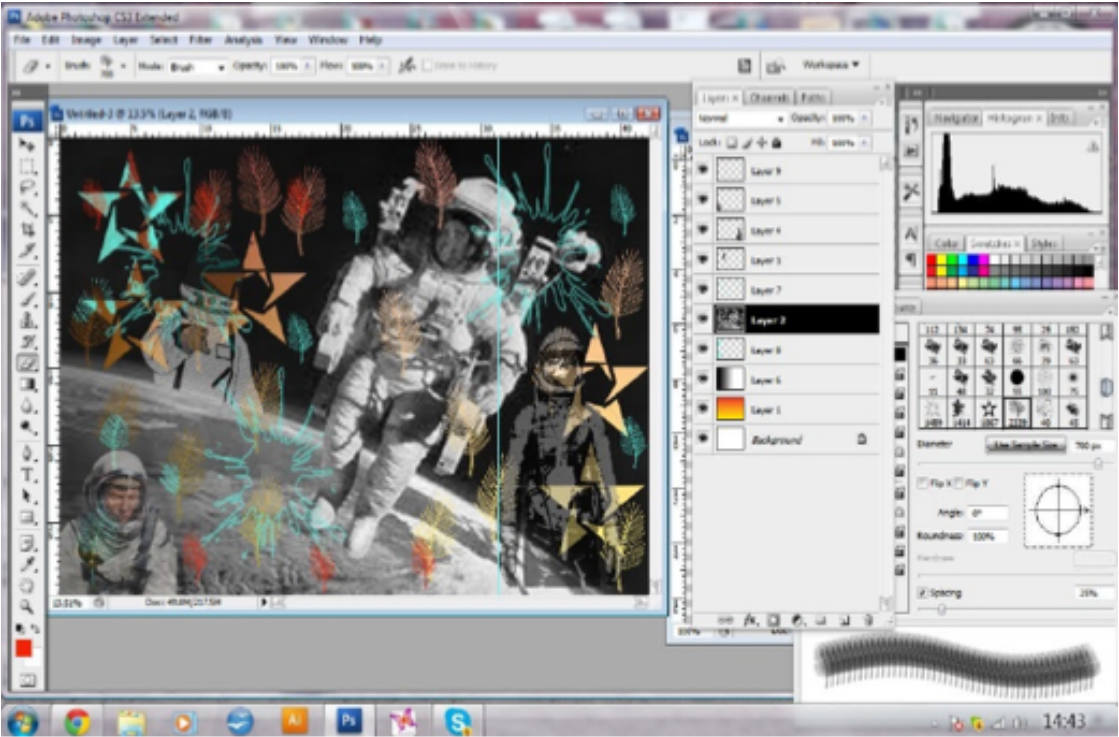
The below image is a screen shot of my Palm Leaf custom brush, in different modes.
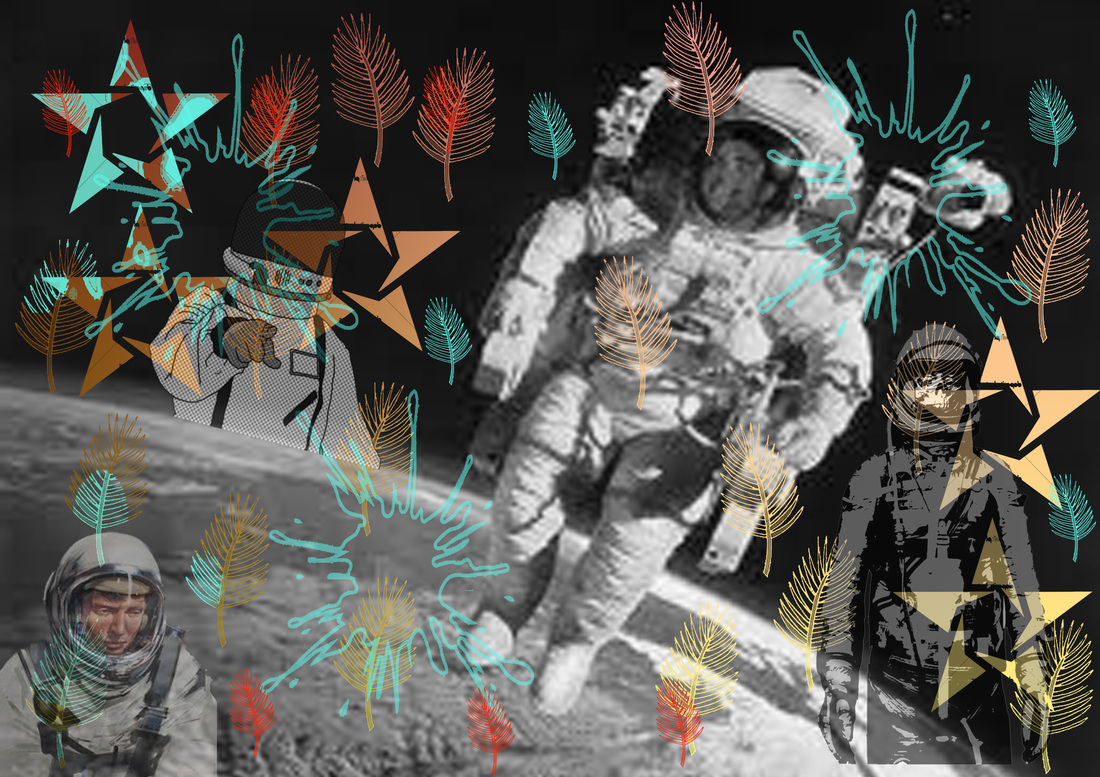
Below you can see a collage that i have made in photoshop using my custom brushes both as a brush/stamp and also an eraser. I used a background with a gradient of red - yellow from top to bottom then placed the space image over it and used my star custom brush to delete the shapes so you can see different colours through it. I also used my palm leaf custom brush both as a brush and a stamp.
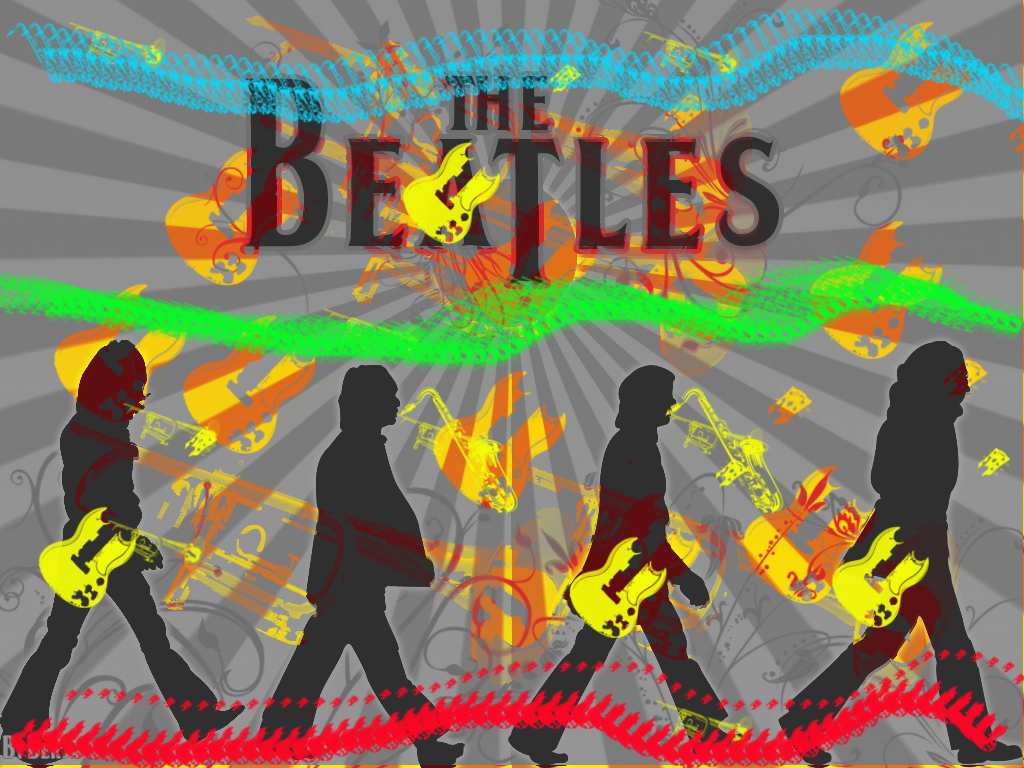
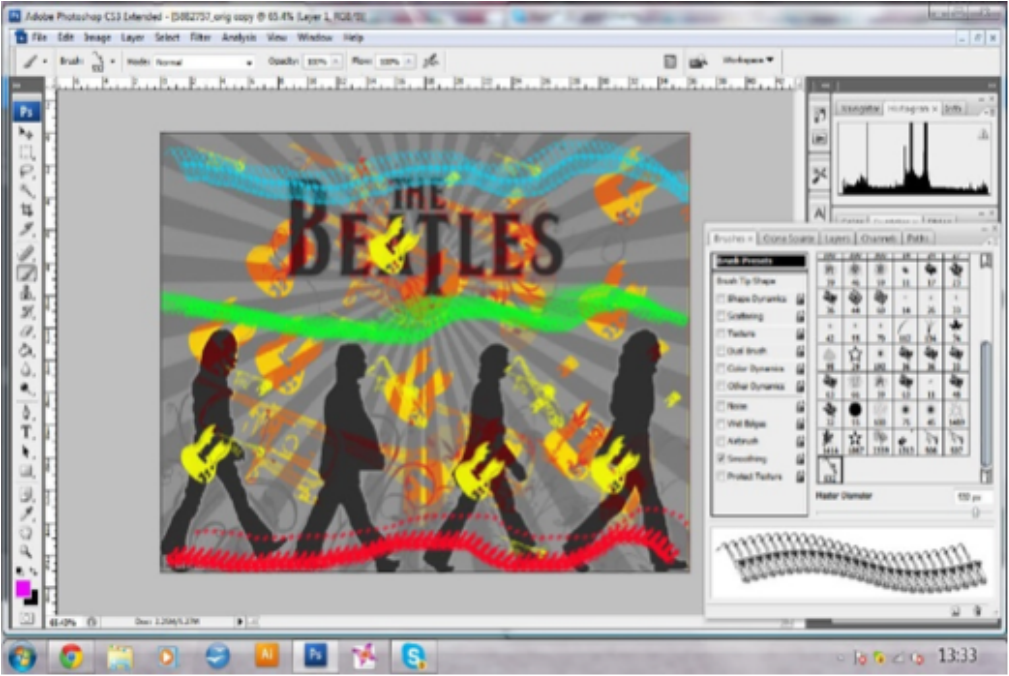
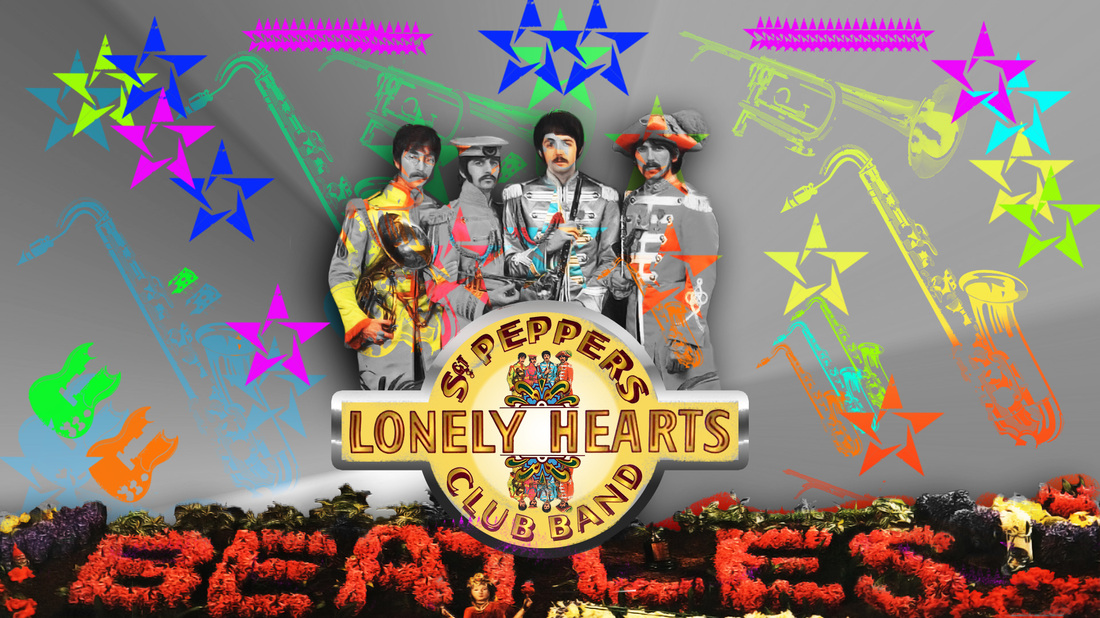
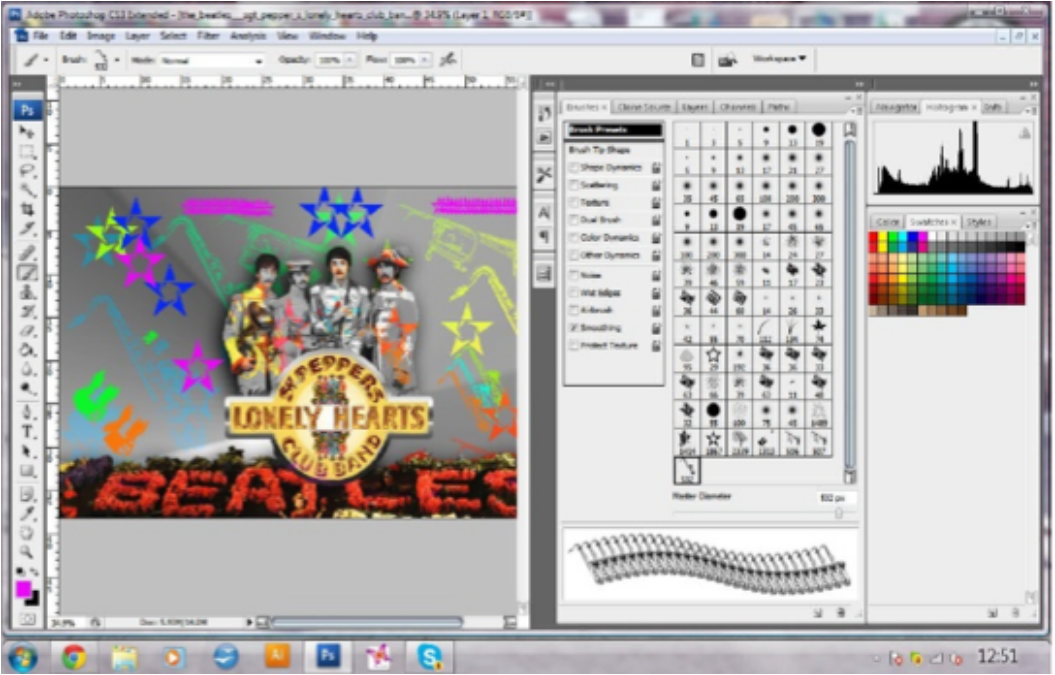
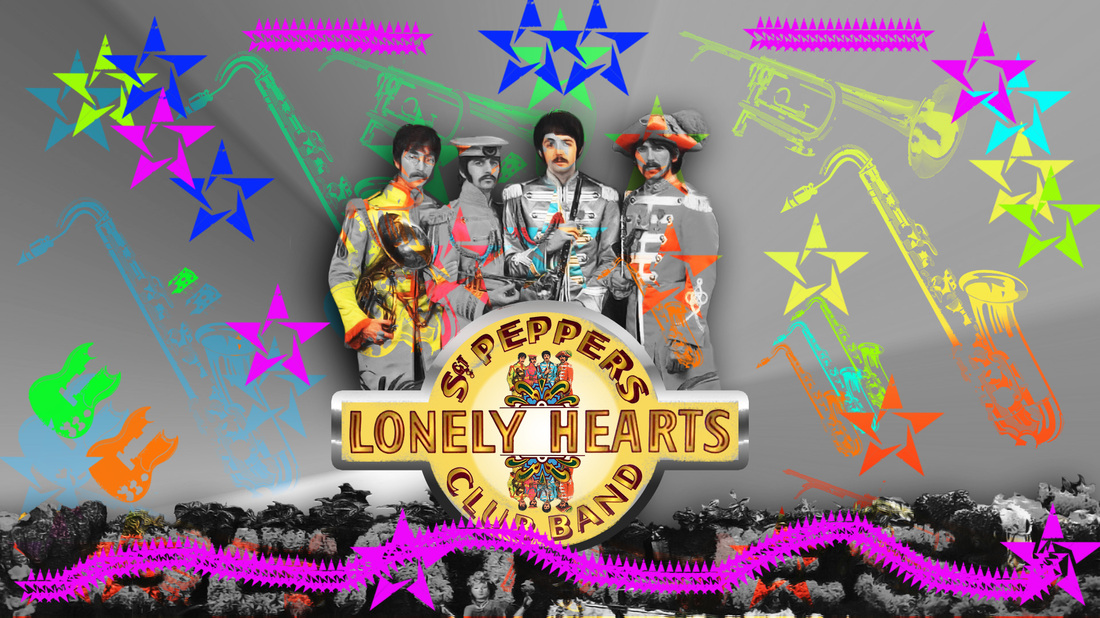
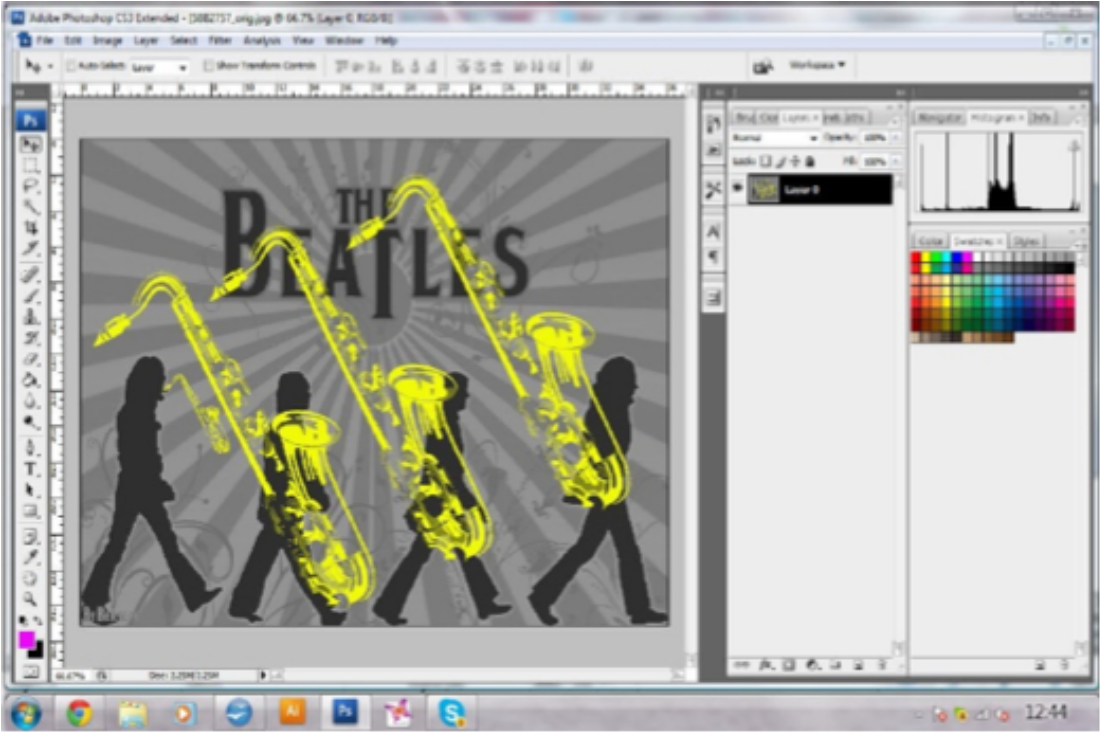
Below you will see two more images that I have done in photoshop using the custom brushes that I have created myself. I have gone for a music theme here and used custom brushes of instruments that I created myself, I created these brushes in the same way as before. I have used images of the Beatles for both these designs, firstly I selected the images in colour then duplicated them and made one copy black & white. I placed one image directly over the other and used the eraser with the custom shape to delete parts of the top image so that you can see the exact part of the image below but now you can see the colour layer. I have also used the brush tool with custom shape both as a colour stamp then as a brush using different colours for each instrument. In the bottom image you will also notice that I have used my custom brush star shape as a stamp, eraser and brush as well. I have also included a screen shot of each in photoshop showing the brushes palette open.
Below are a couple of images that I was doing just to get some practice with the custom brush.
Abstract Designs using the Custom Brush Tool.
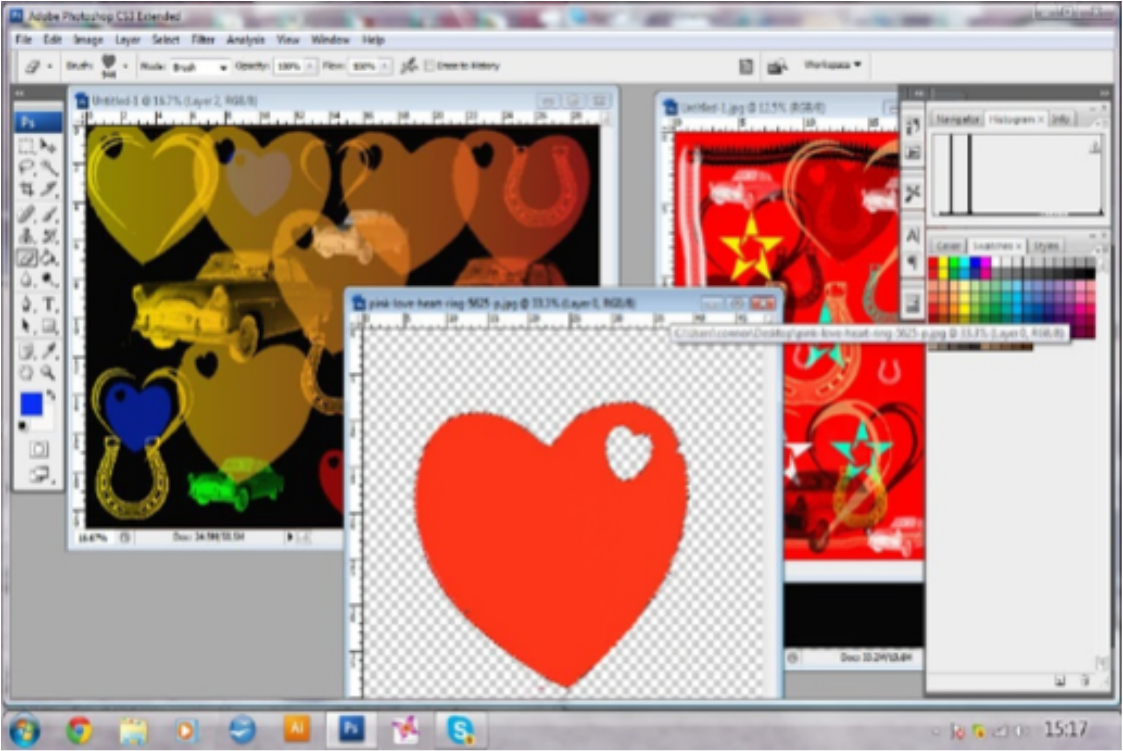
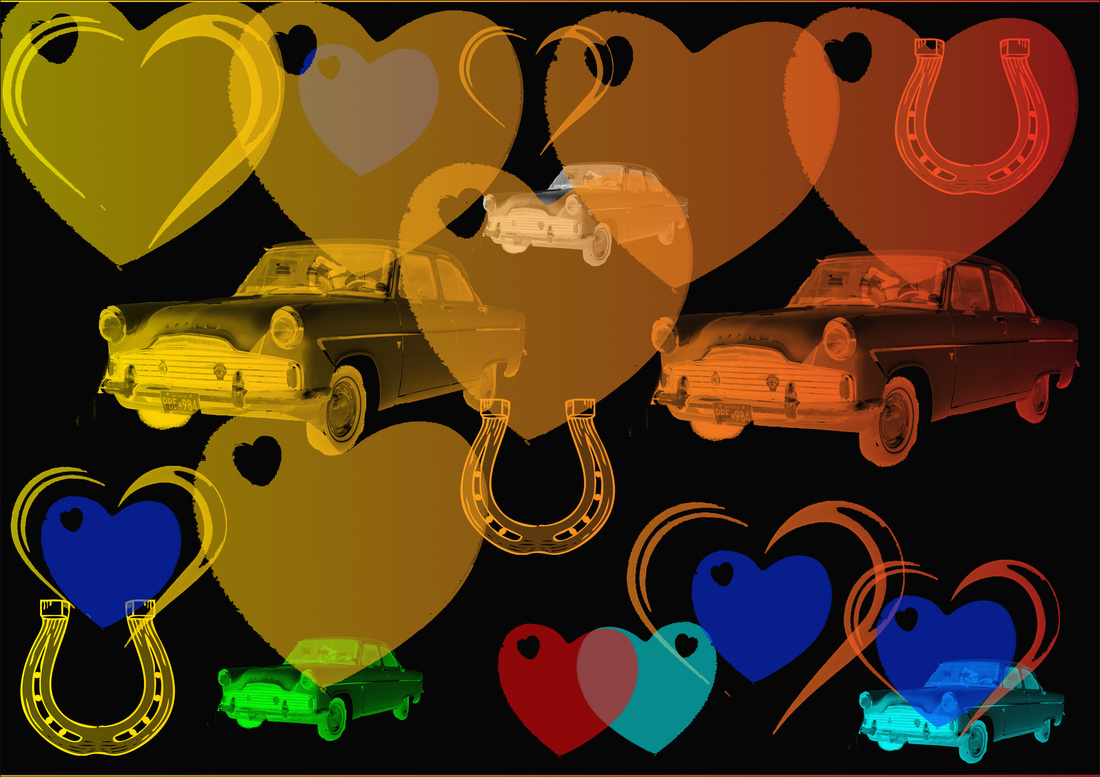
Above image are of more custom brushes that I have made. In the top Doc you can see a screen shot of my photoshop with both the images open and the heart custom brush being created, in the image that has black as the background I have put it over a layer that has a yellow - red horizontal gradient. As you can see I used the two large car images in this as eraser's, so the left car front is bright yellow going to orange and right car back end is red going to orange. I also used the horseshoe as an eraser in this layout so they are different colours. I used the large hearts as erasers also with the smaller hearts being used as a stamp with the paint brush tool. The two smaller car images are also stamps with the brush tool.
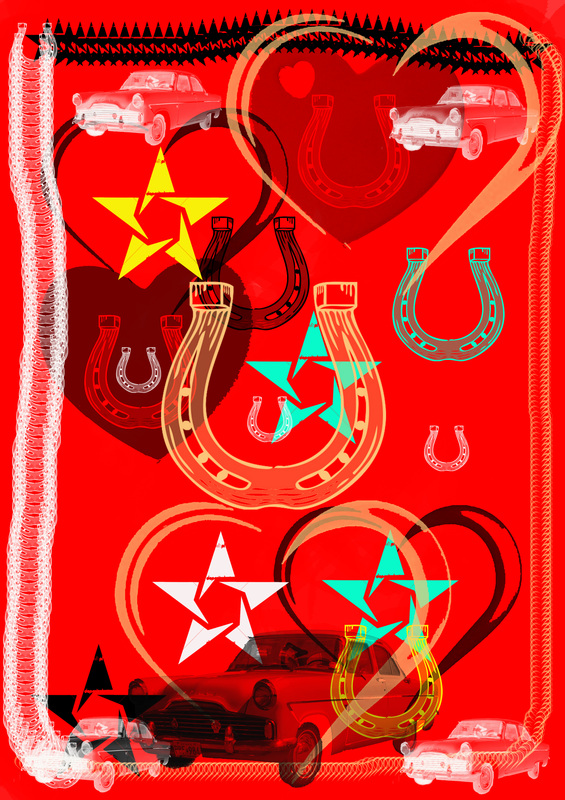
The image with the red background I have used all the custom brush shapes as brushes, stamps & erasers.
Above image are of more custom brushes that I have made. In the top Doc you can see a screen shot of my photoshop with both the images open and the heart custom brush being created, in the image that has black as the background I have put it over a layer that has a yellow - red horizontal gradient. As you can see I used the two large car images in this as eraser's, so the left car front is bright yellow going to orange and right car back end is red going to orange. I also used the horseshoe as an eraser in this layout so they are different colours. I used the large hearts as erasers also with the smaller hearts being used as a stamp with the paint brush tool. The two smaller car images are also stamps with the brush tool.
The image with the red background I have used all the custom brush shapes as brushes, stamps & erasers.
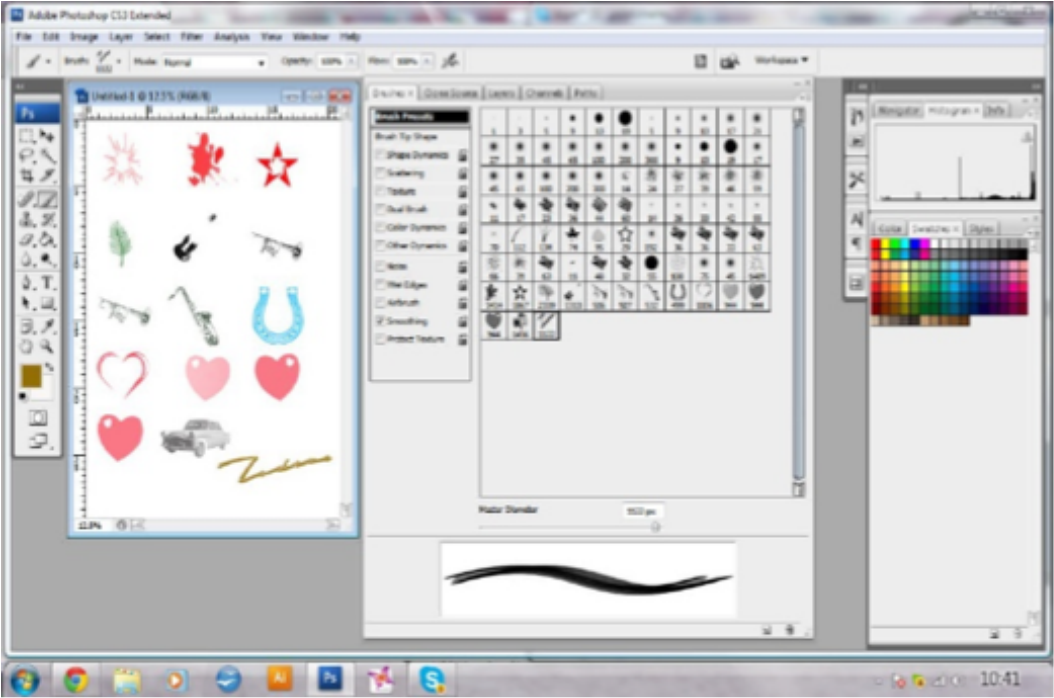
The image above is a screen shot of the 15 different custom brushes that I have created with the brush palette window showing them.
- In the custom brush exercise, I learned how to create my own custom brushes. These can be used in many ways such as a Stamp, Brush & Eraser to create lots of different effects.
- Everything went well on this exercise, after that I had created the first custom brush I found this quite easy to do. This tool will be very useful for future projects, and will help me no end.
- There was nothing that did not go well as you can see by my abstract images & screen shots.
The use of custom brushes in art work, give each piece of artwork individuality and you can customize them in different ways. This is shown in the images that I have created. In the first image of the spaceman I used the image over a coloured background, then used the custom brush as an eraser to show the colour below. Then I used different brushes as stamps and erasers with different opacity levels for different effect, this customized my artwork for me.
The strengths that my artwork has are.
The strengths that my artwork has are.
- All my art work has individuality, Depth, Colour & are vibrant.
- They all have my own custom brushes, created by me.
- My art work shows that I am competent in lots of different aspects of photoshop.
- The art work displays that I am willing to explore a lot of different styles.
My to do list
- To explore more custom brush designs.
- To use my own custom brushes in different ways for other projects.
- To carry on exploring photoshop tools, for future projects.
- To keep up my momentum & enthusiasm for my course work.
